Workflow
In Design
This process demonstrates my use of Adobe InDesign to create structured, professional multi-page documents. I explored document setup, page dimensions, margins, rulers, measurement guides and grid systems to ensure accurate positioning and consistent layouts.
I also developed my understanding of print preparation by setting up 3 mm bleed, working with facing pages, inserting automatic page numbers and exploring professional PDF export settings, including PDF/X-4. These techniques help ensure documents are organised, consistent and prepared for professional print production.
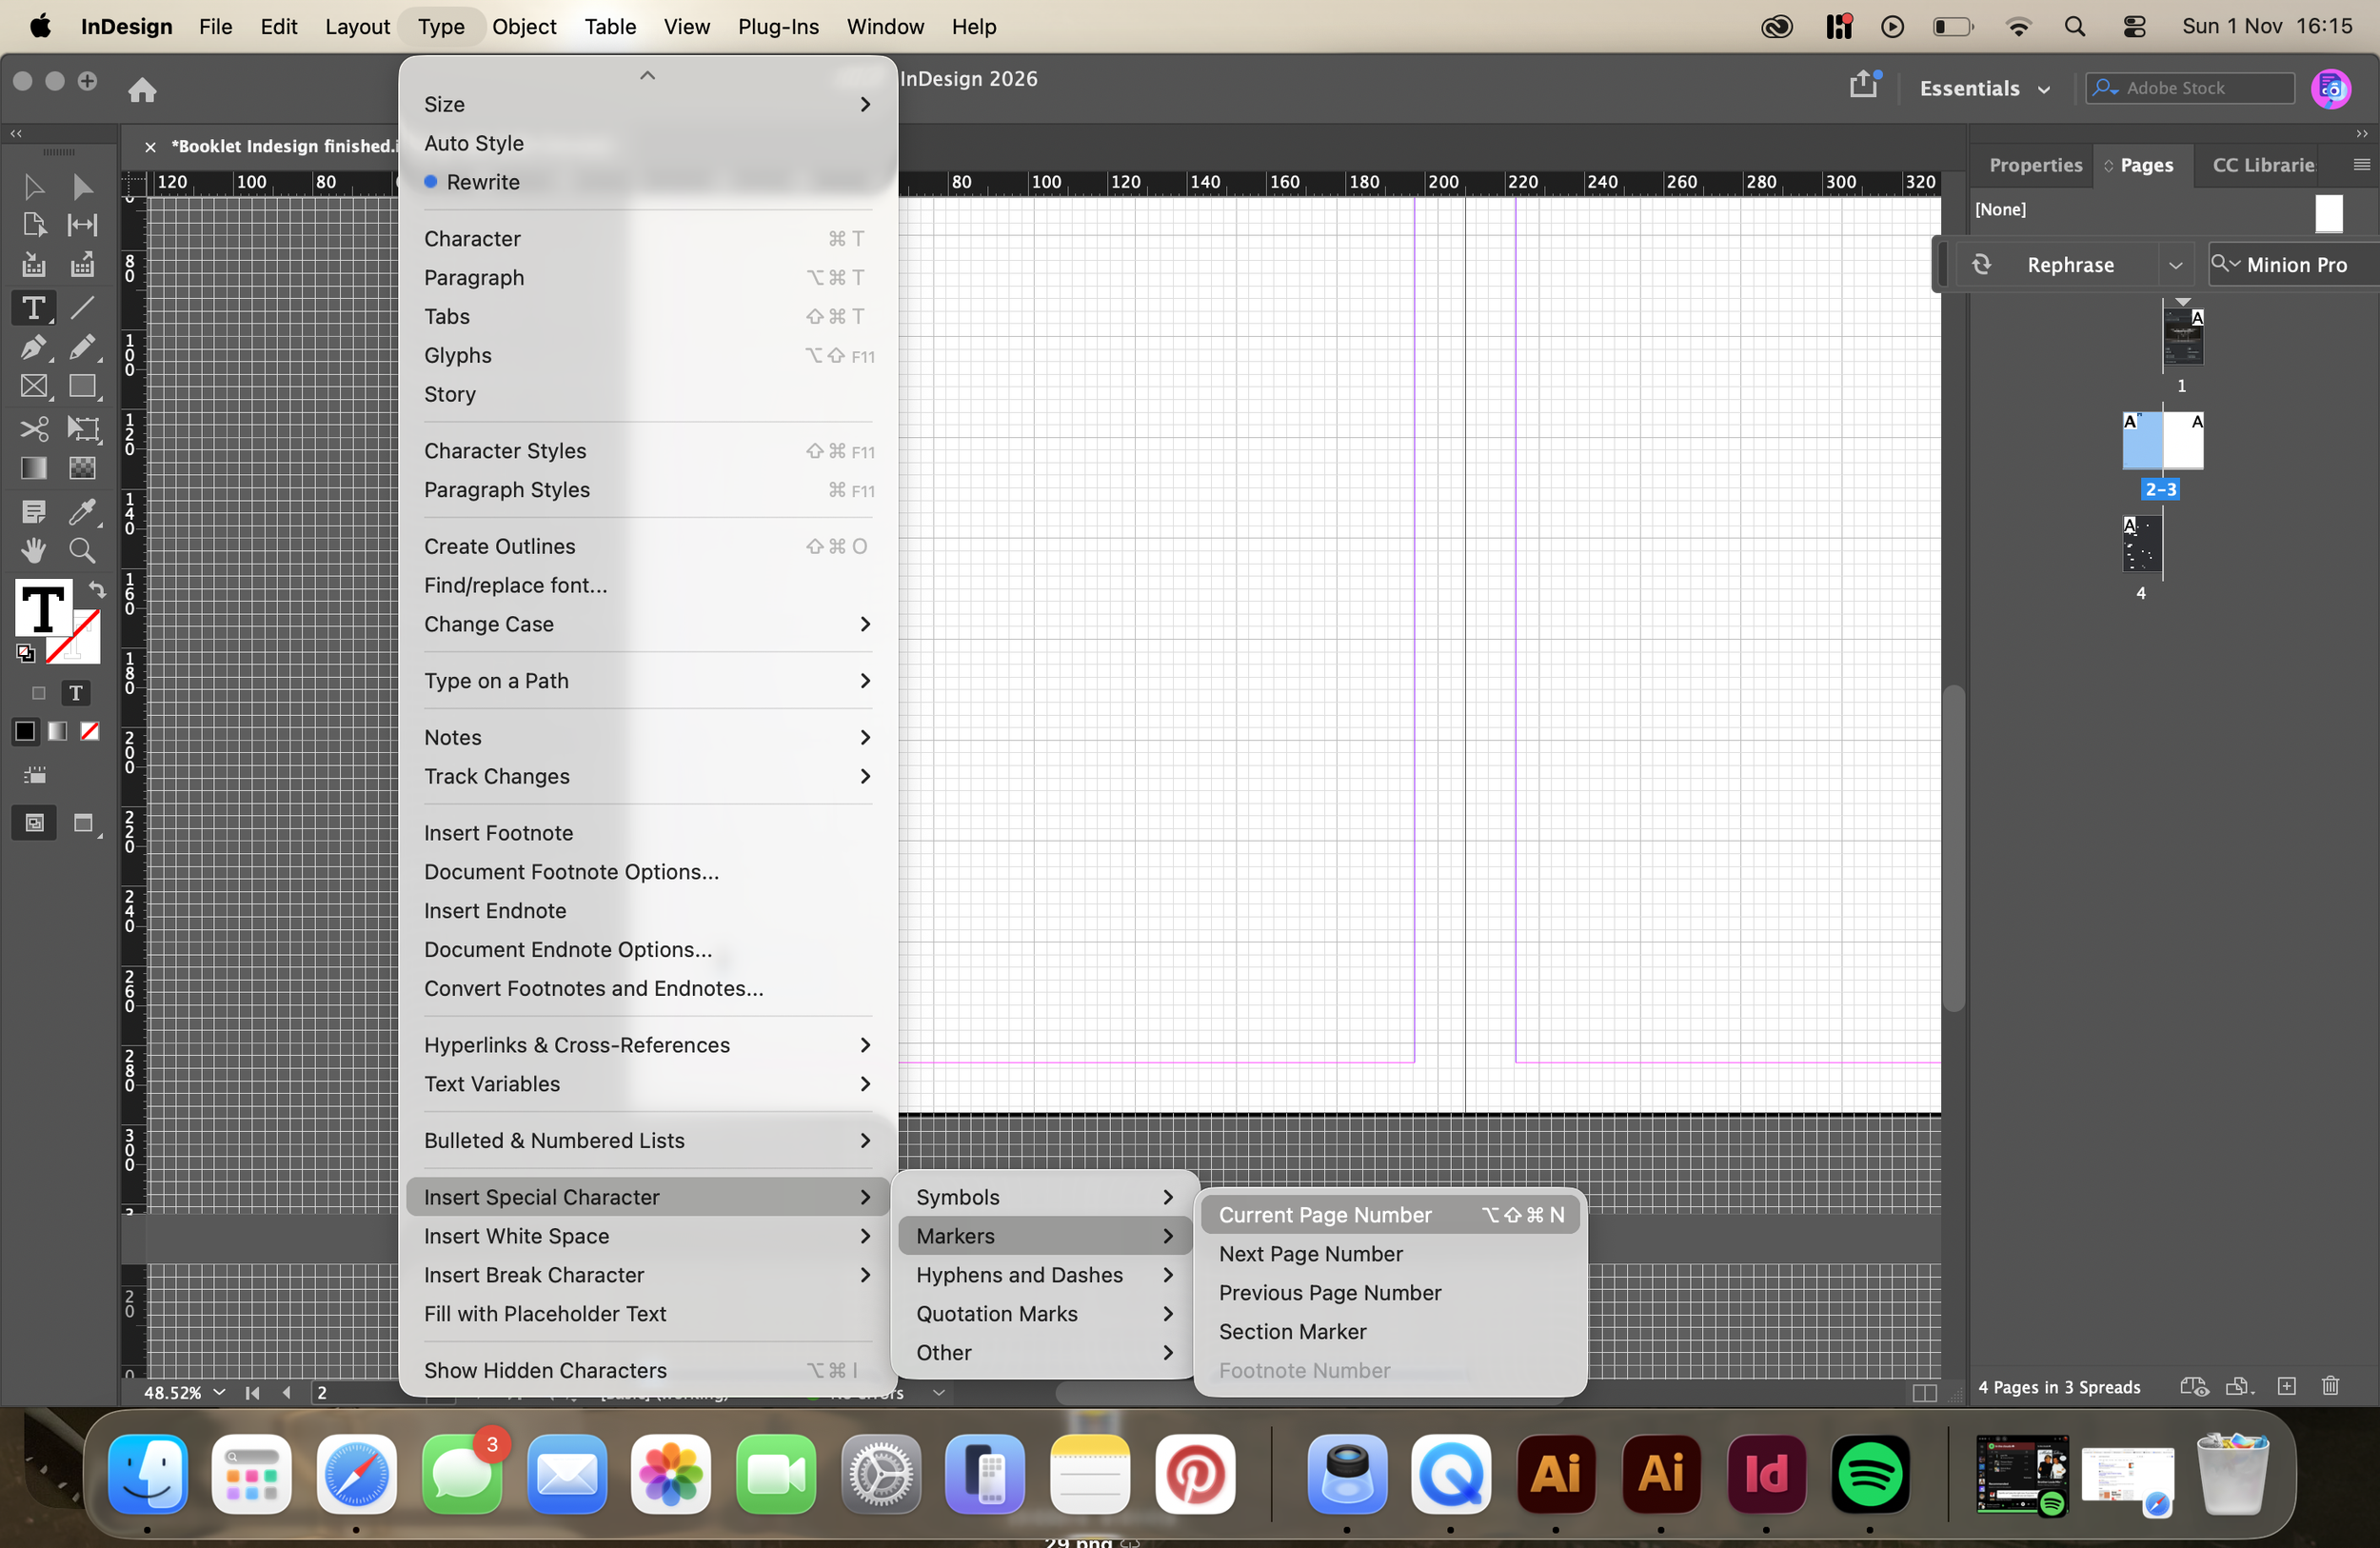
Automatic Page Numbering
Document Setup - Page Size, Margins & Bleed
PDF/X-4 Export Settings
Paragraph and Character Styles
Marks 7 Bleed PDF Export
Bleed Setup
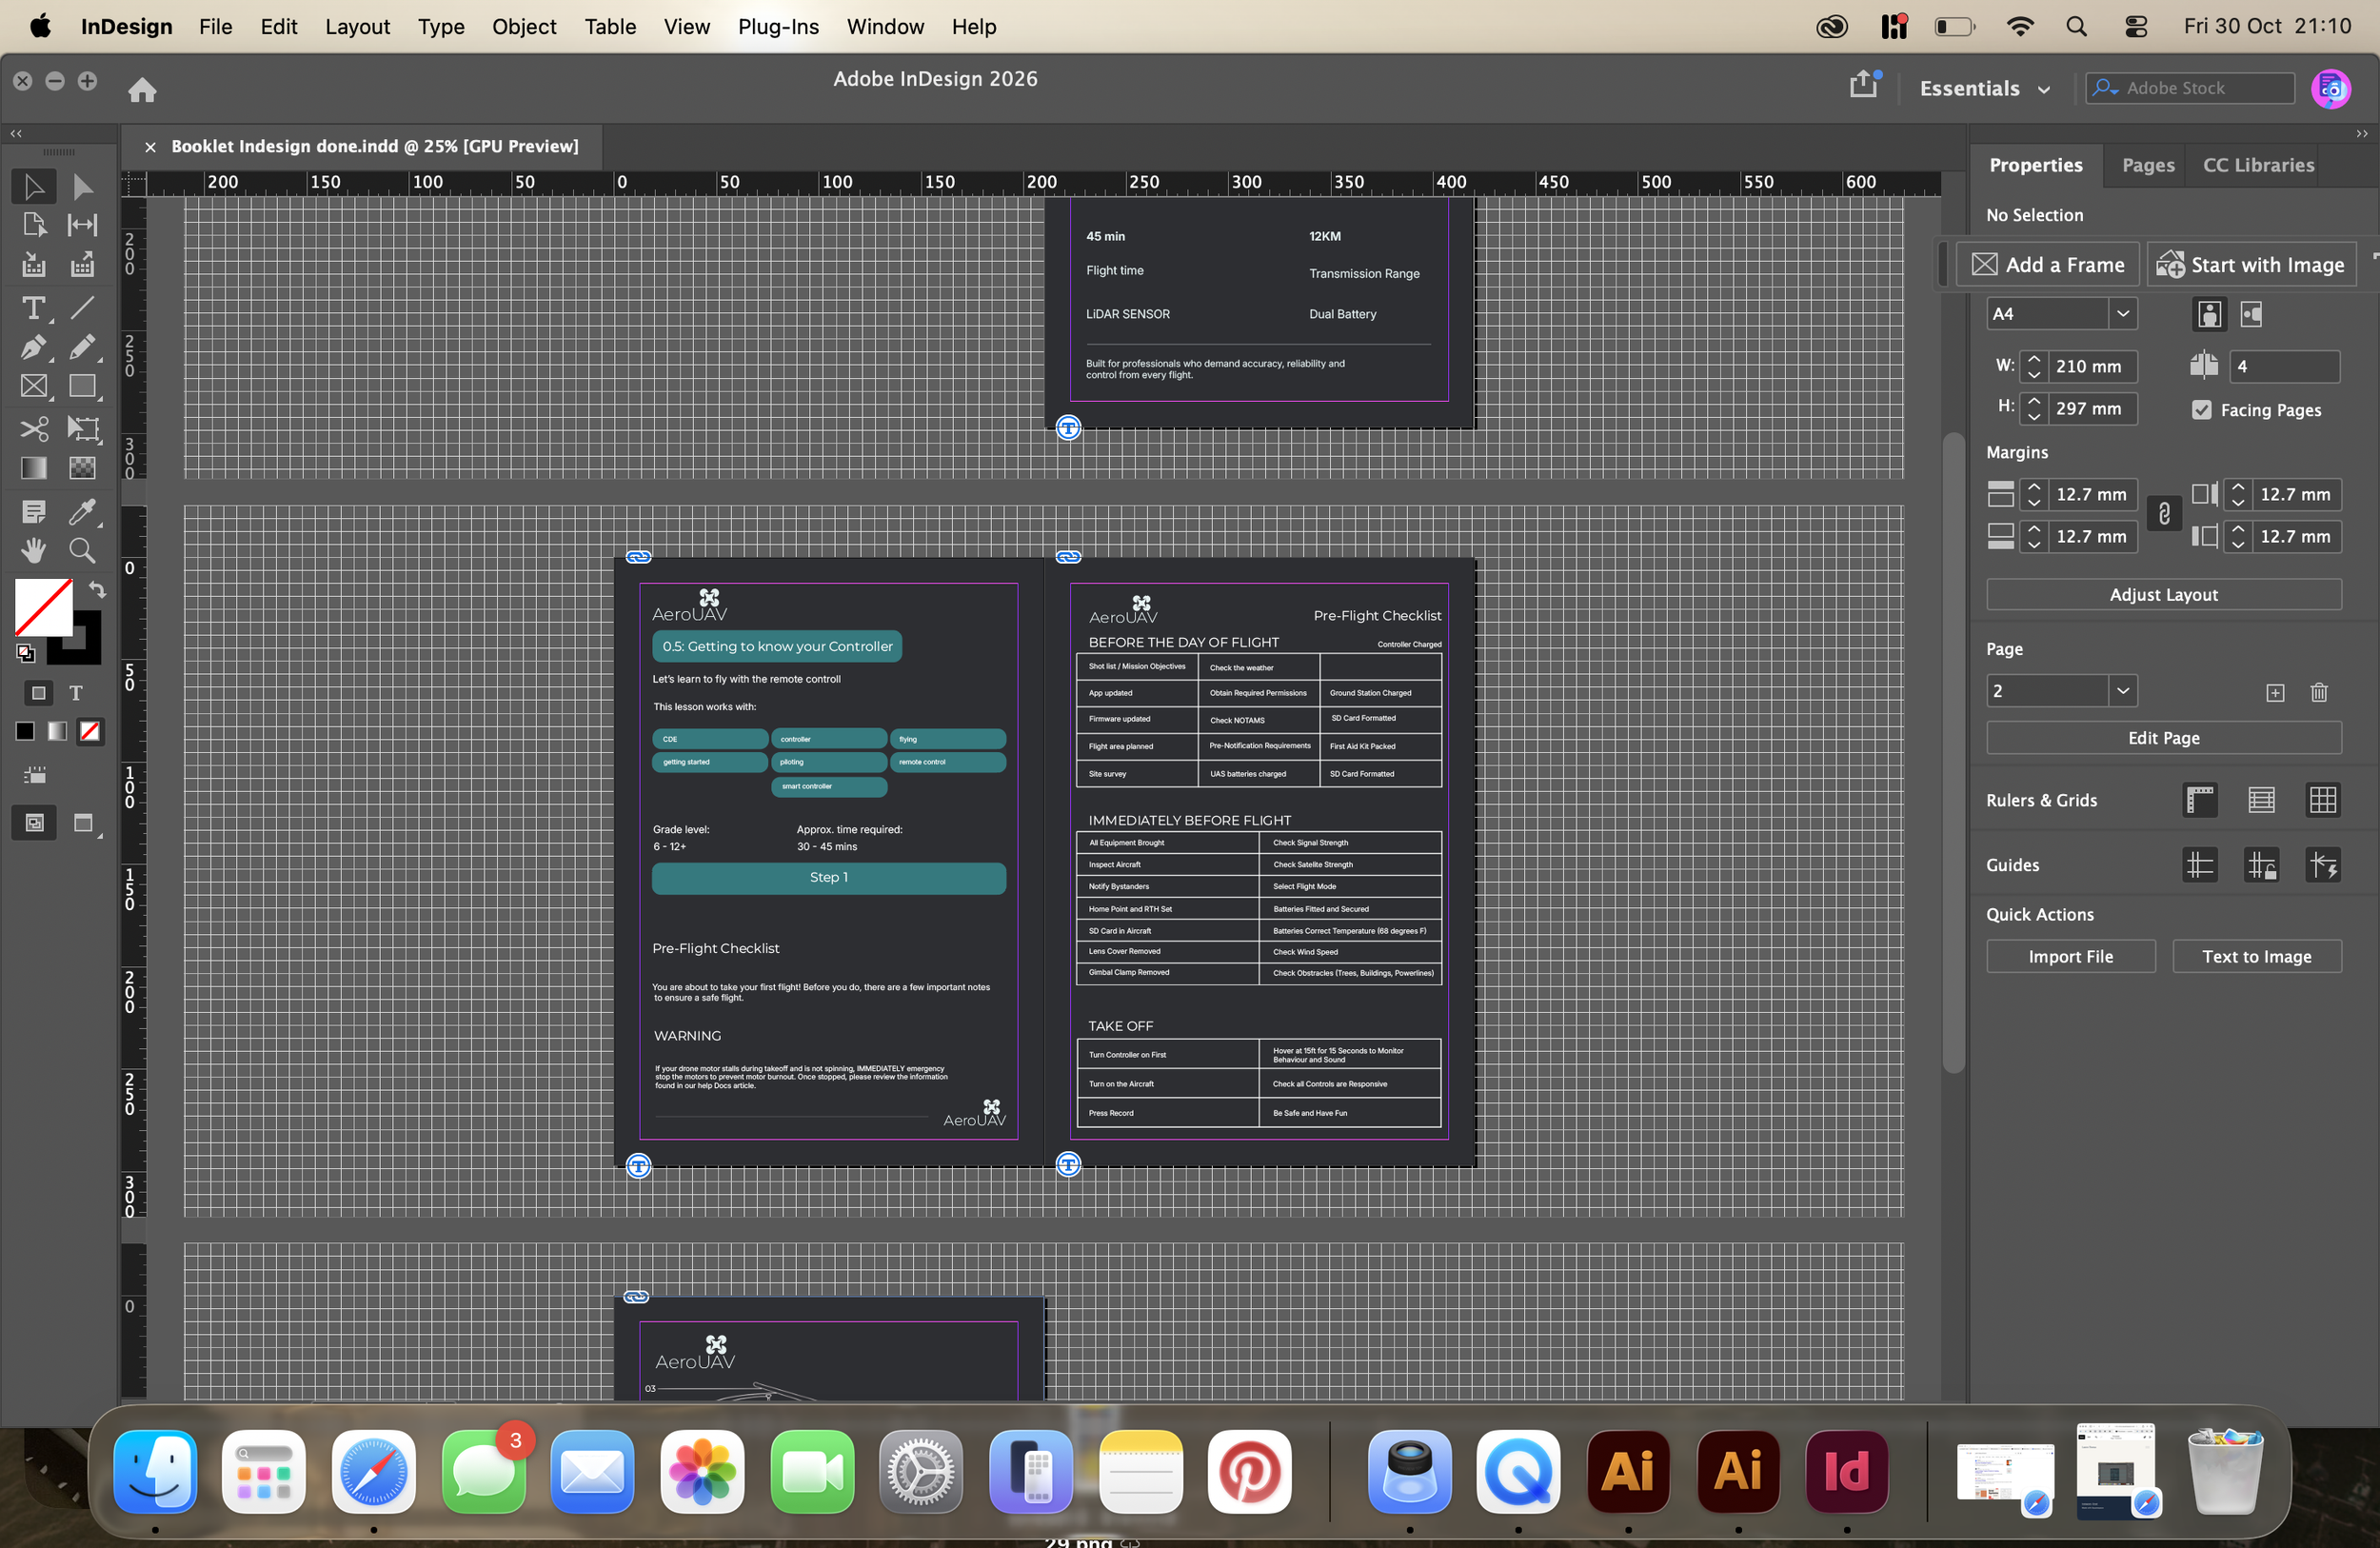
Grids and Document Structure
Adobe Illustrator
This step shows how I utilise Adobe Illustrator to produce vector-based artwork, branding elements, and digital graphics. In order to produce clear, accurate designs, I experimented with colour selection, typography, shape manipulation, alignment, and the usage of vector tools.
In order to create scalable artwork, I also improved my abilities to create icons, manipulate forms, change anchor points, and work with various tools. Using these methods, I was able to create intricate visual assets for print media, digital apps, and branding.
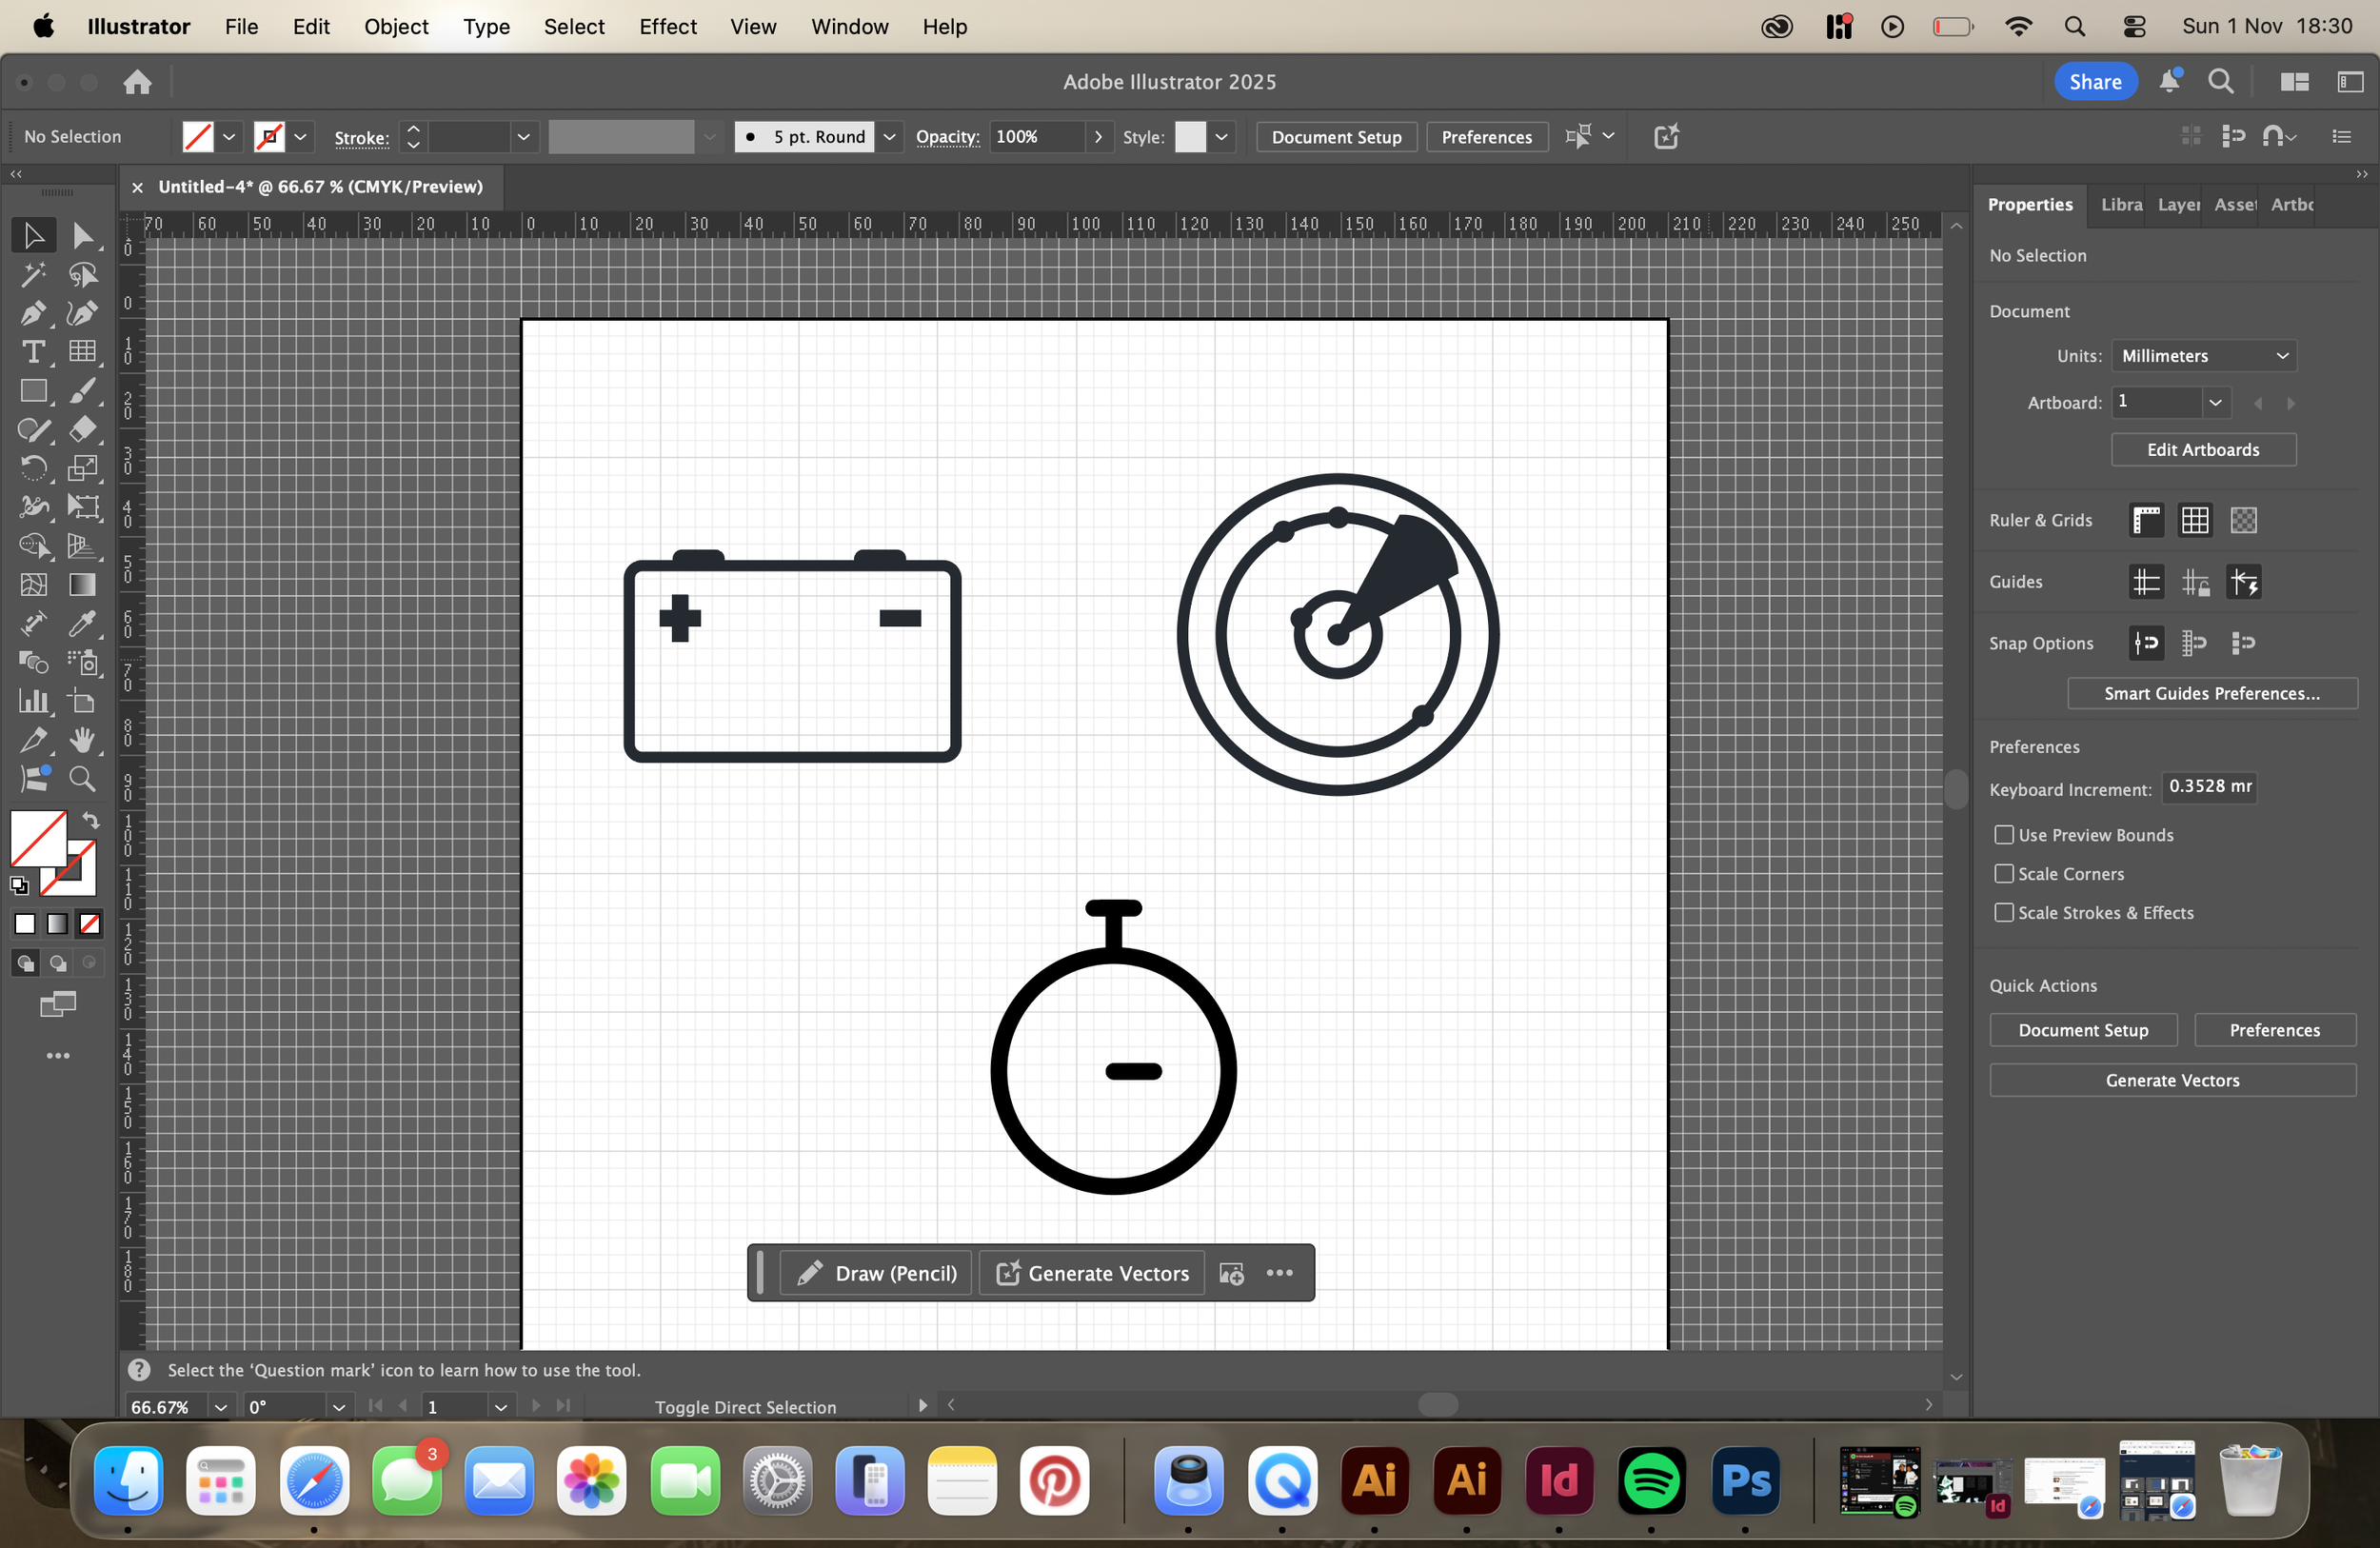
Matching Vector Icon Set
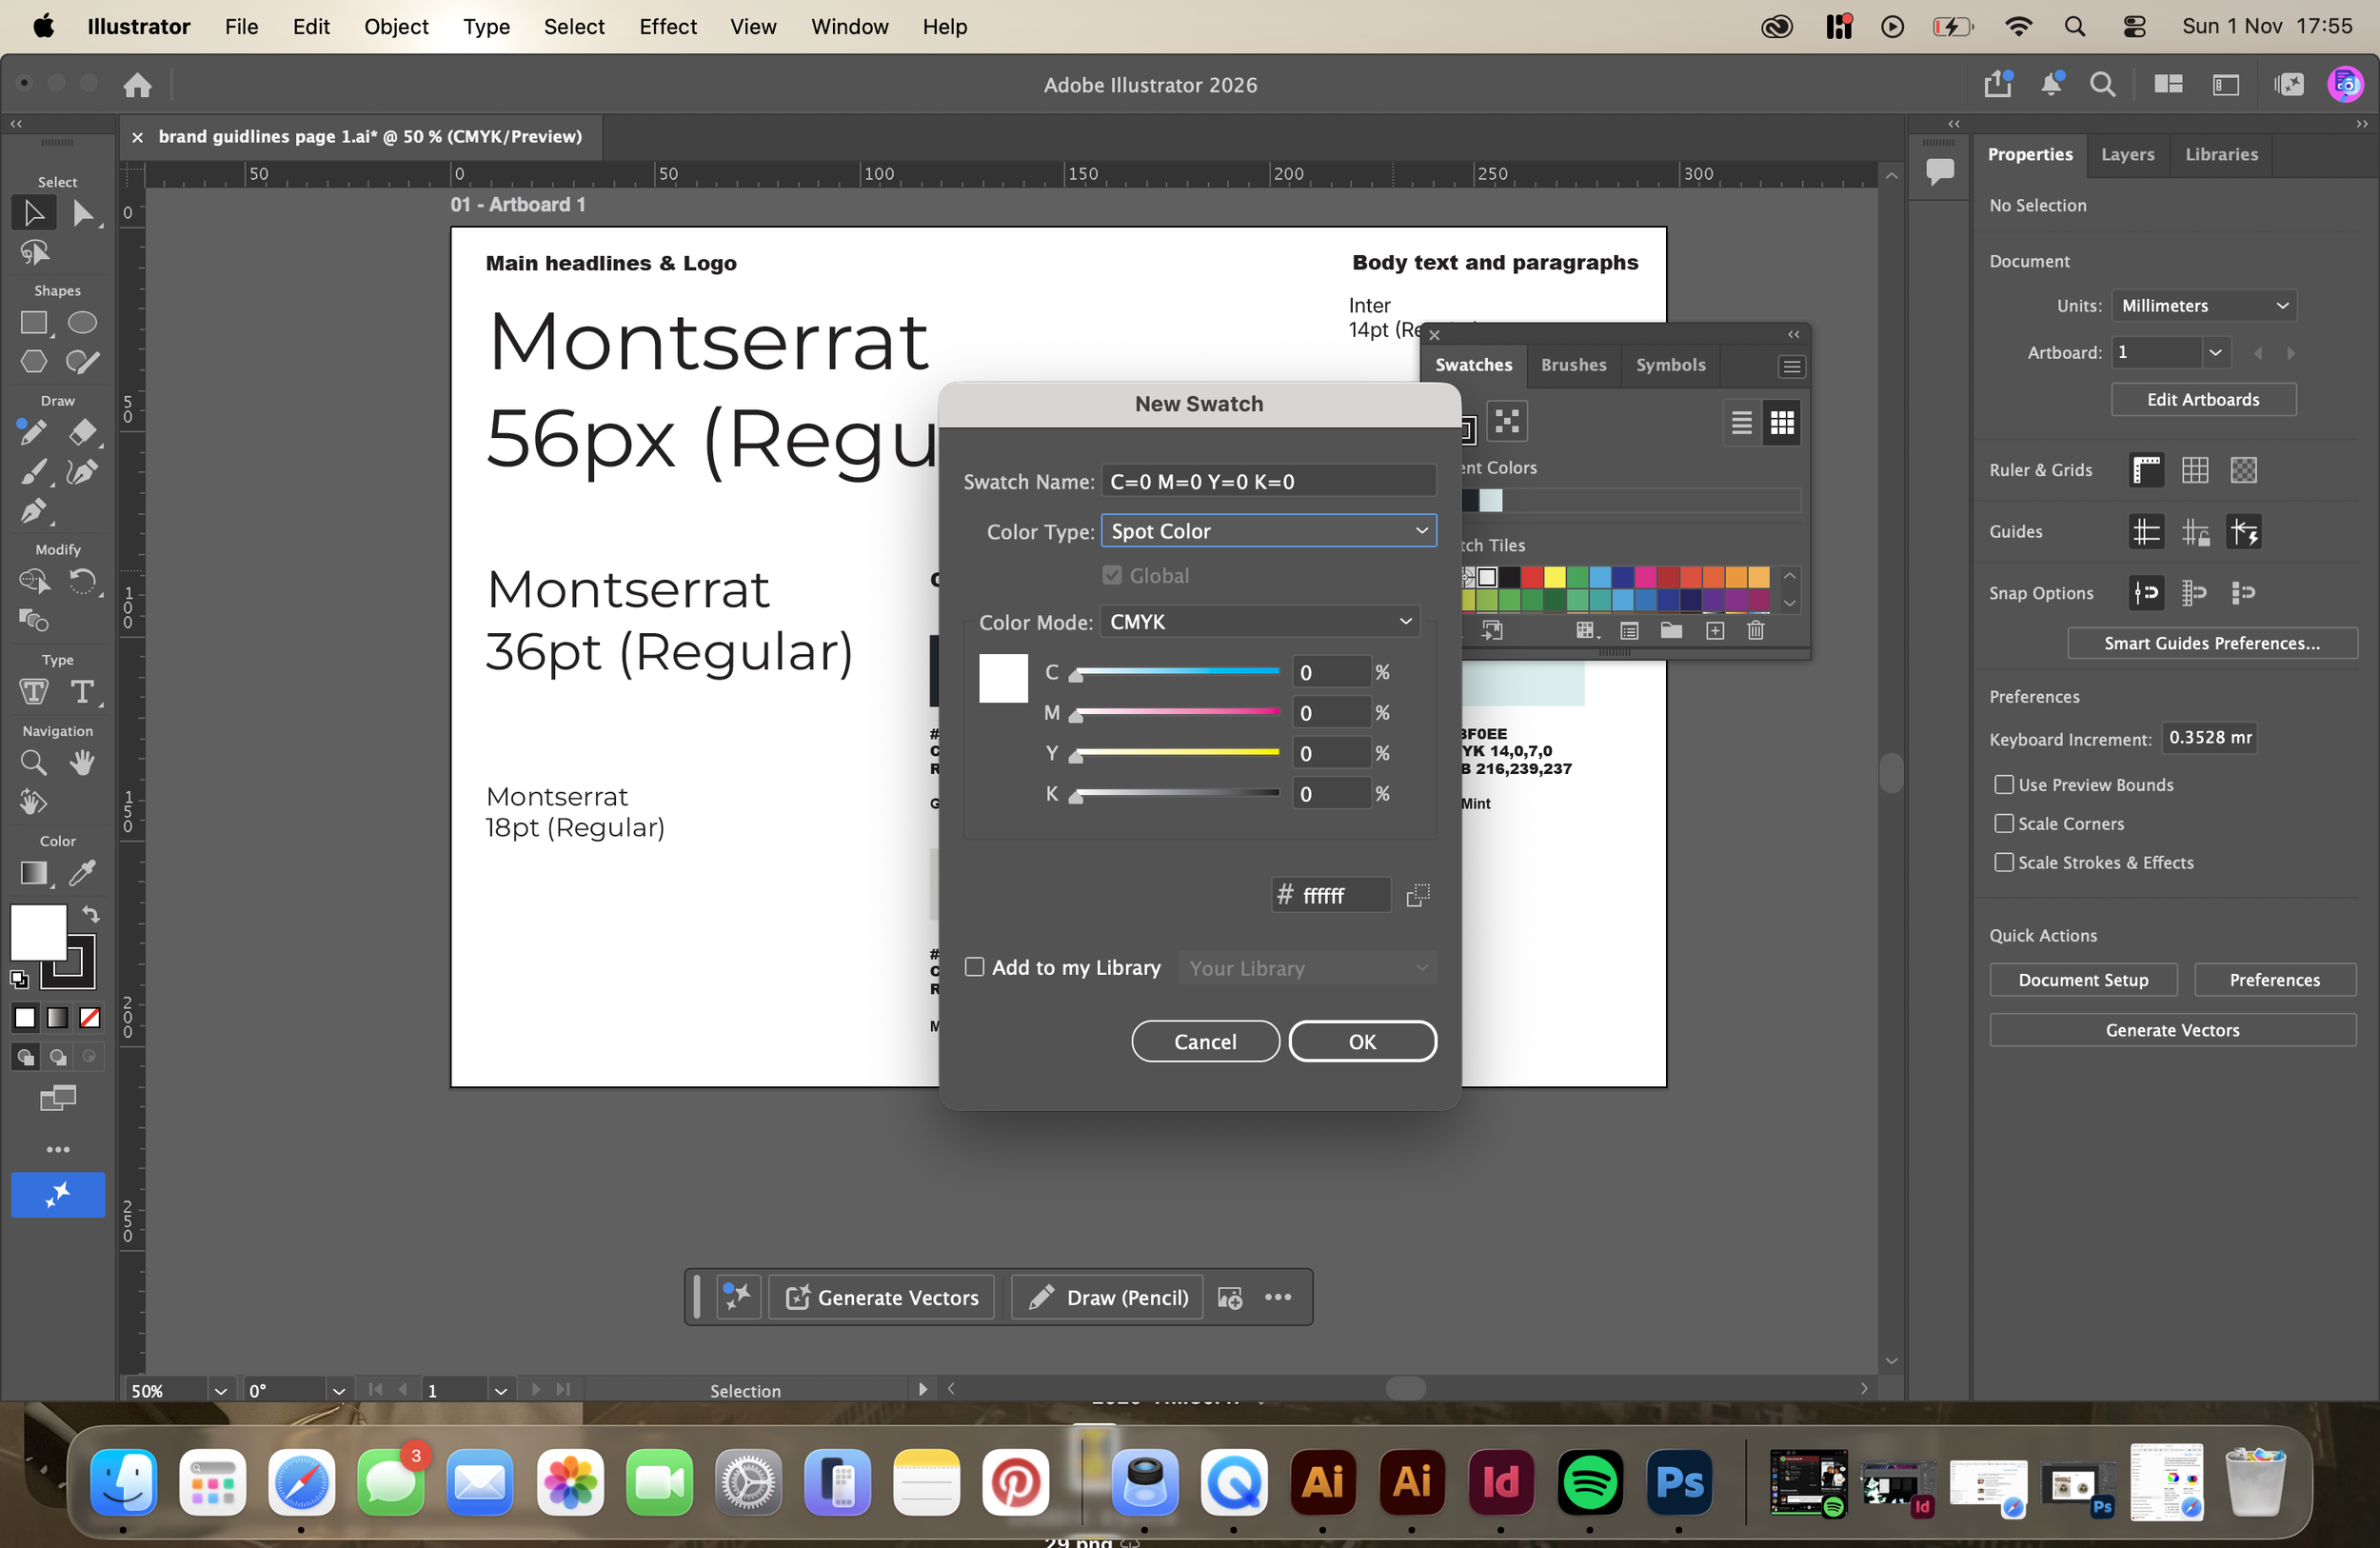
Artwork Preparation & Print Production
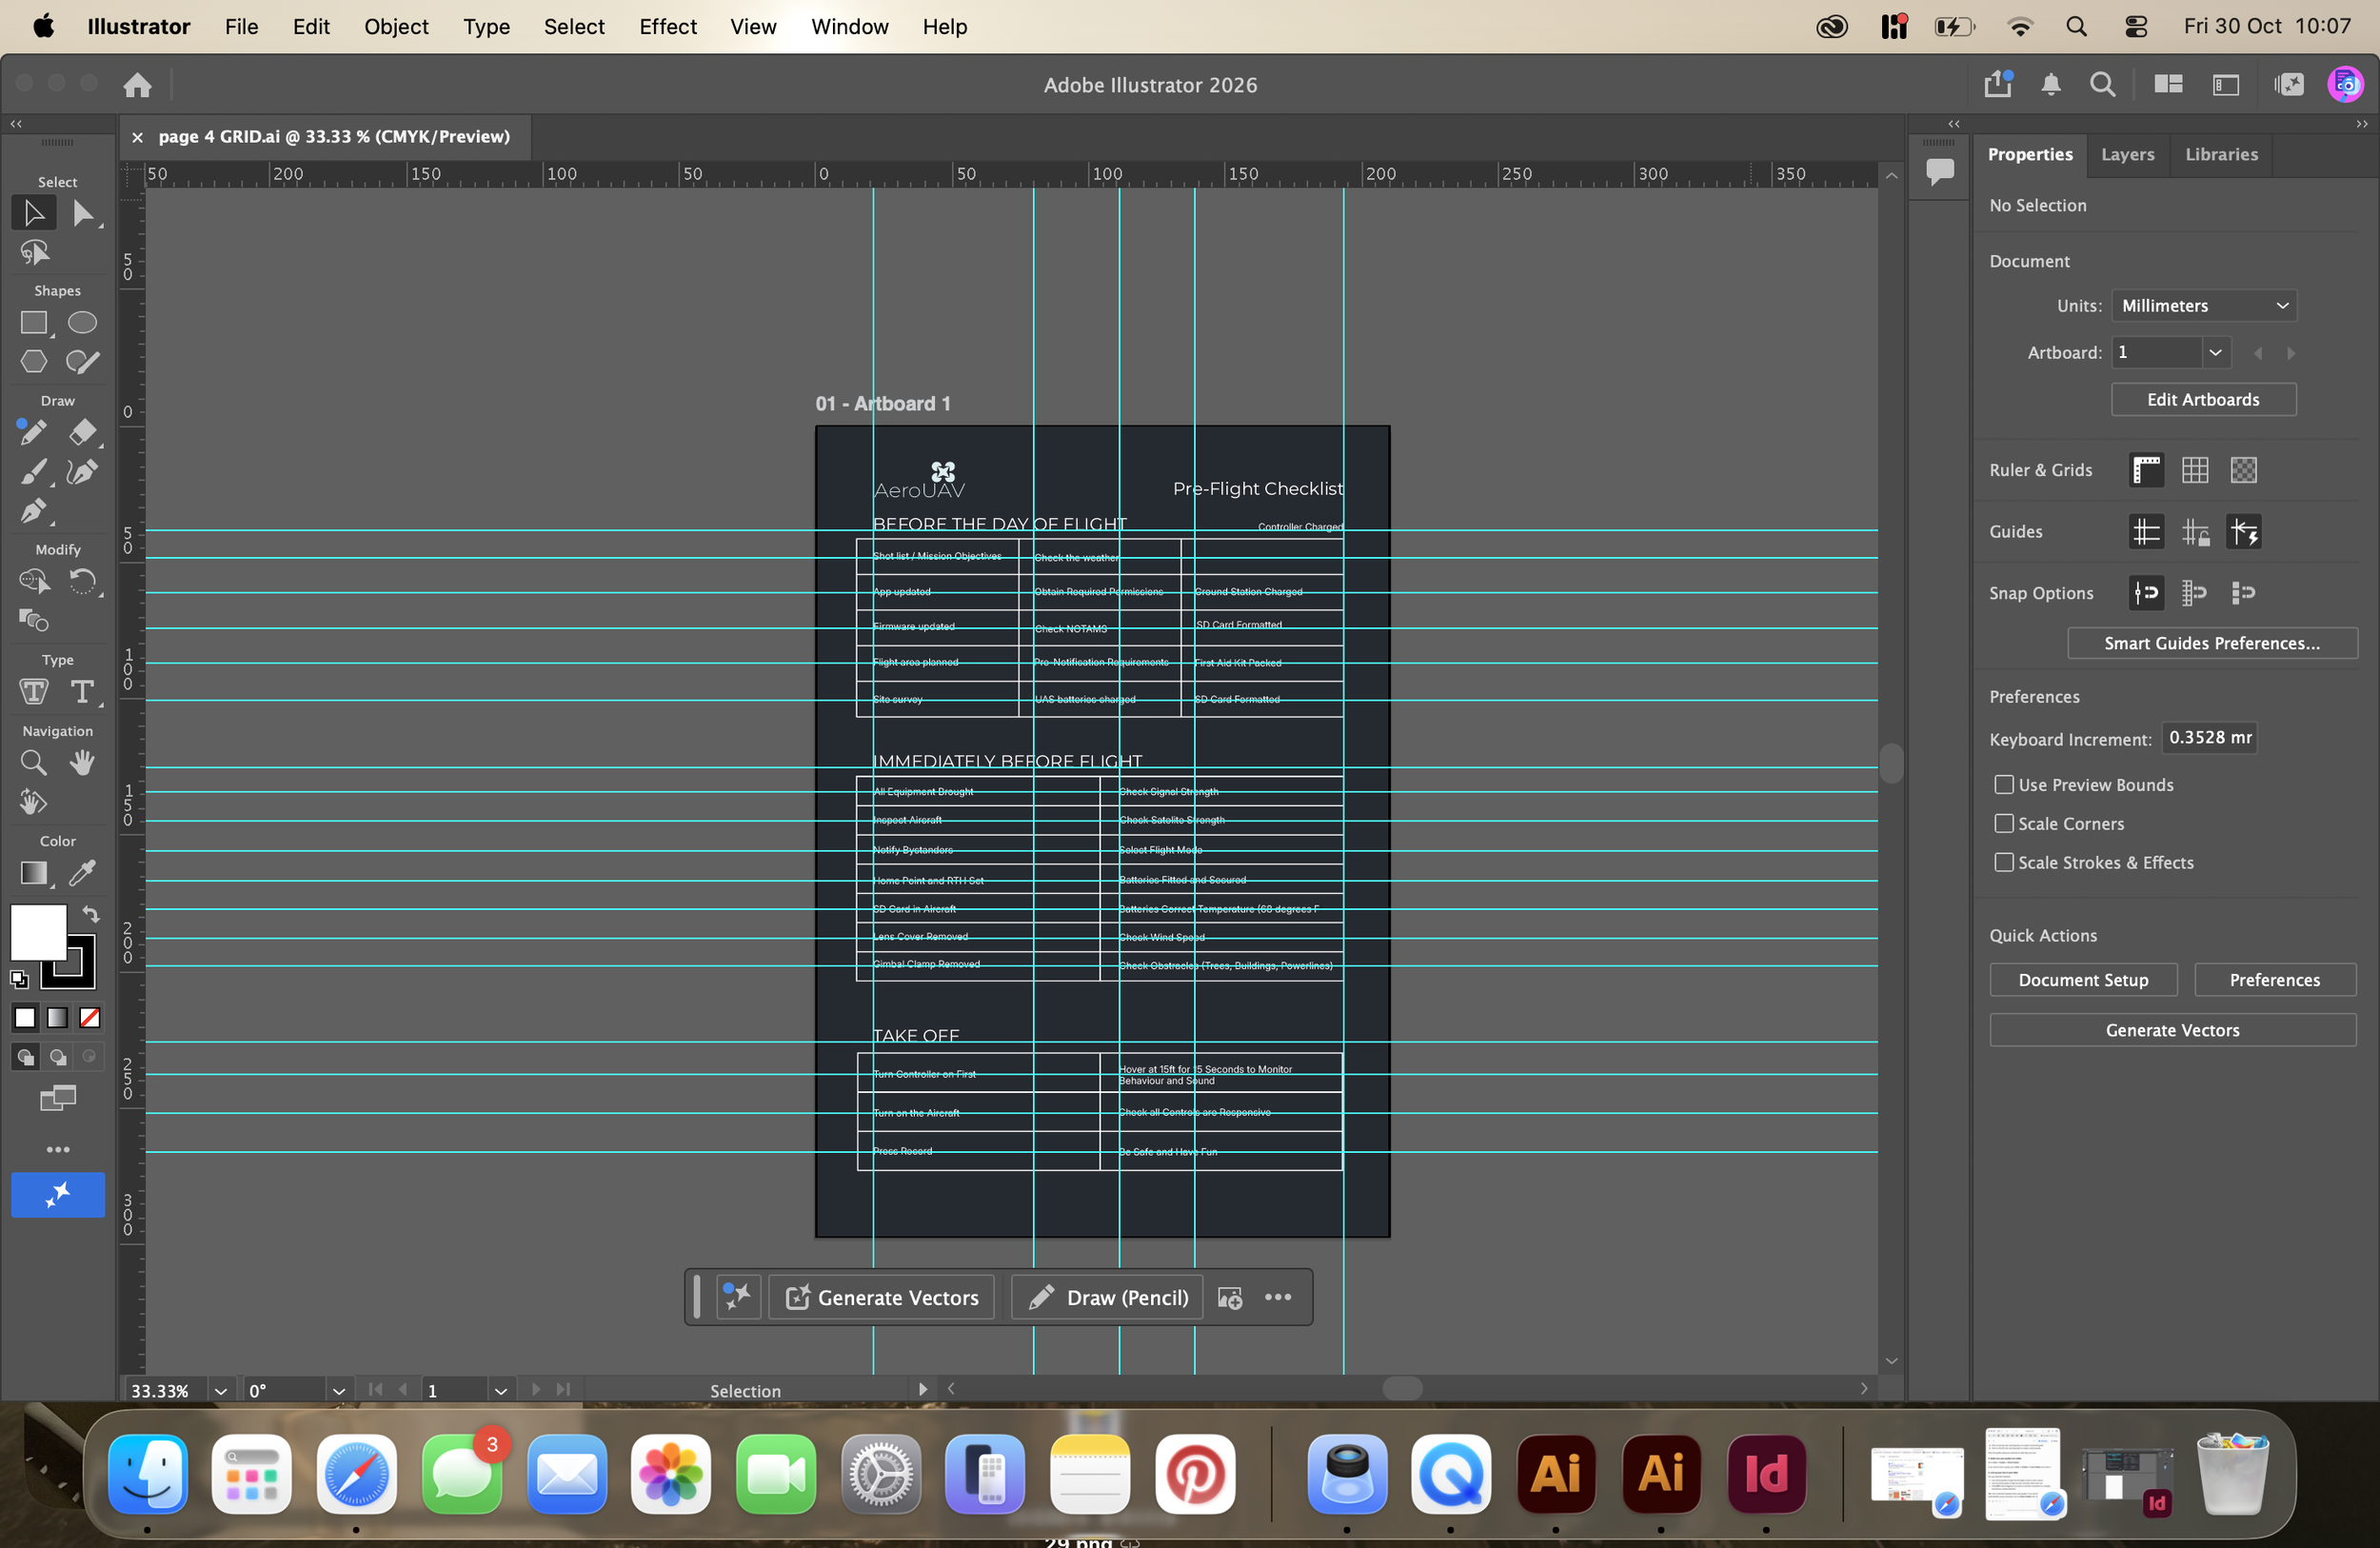
Rulers, Measurements & Alignment
Adobe Photoshop
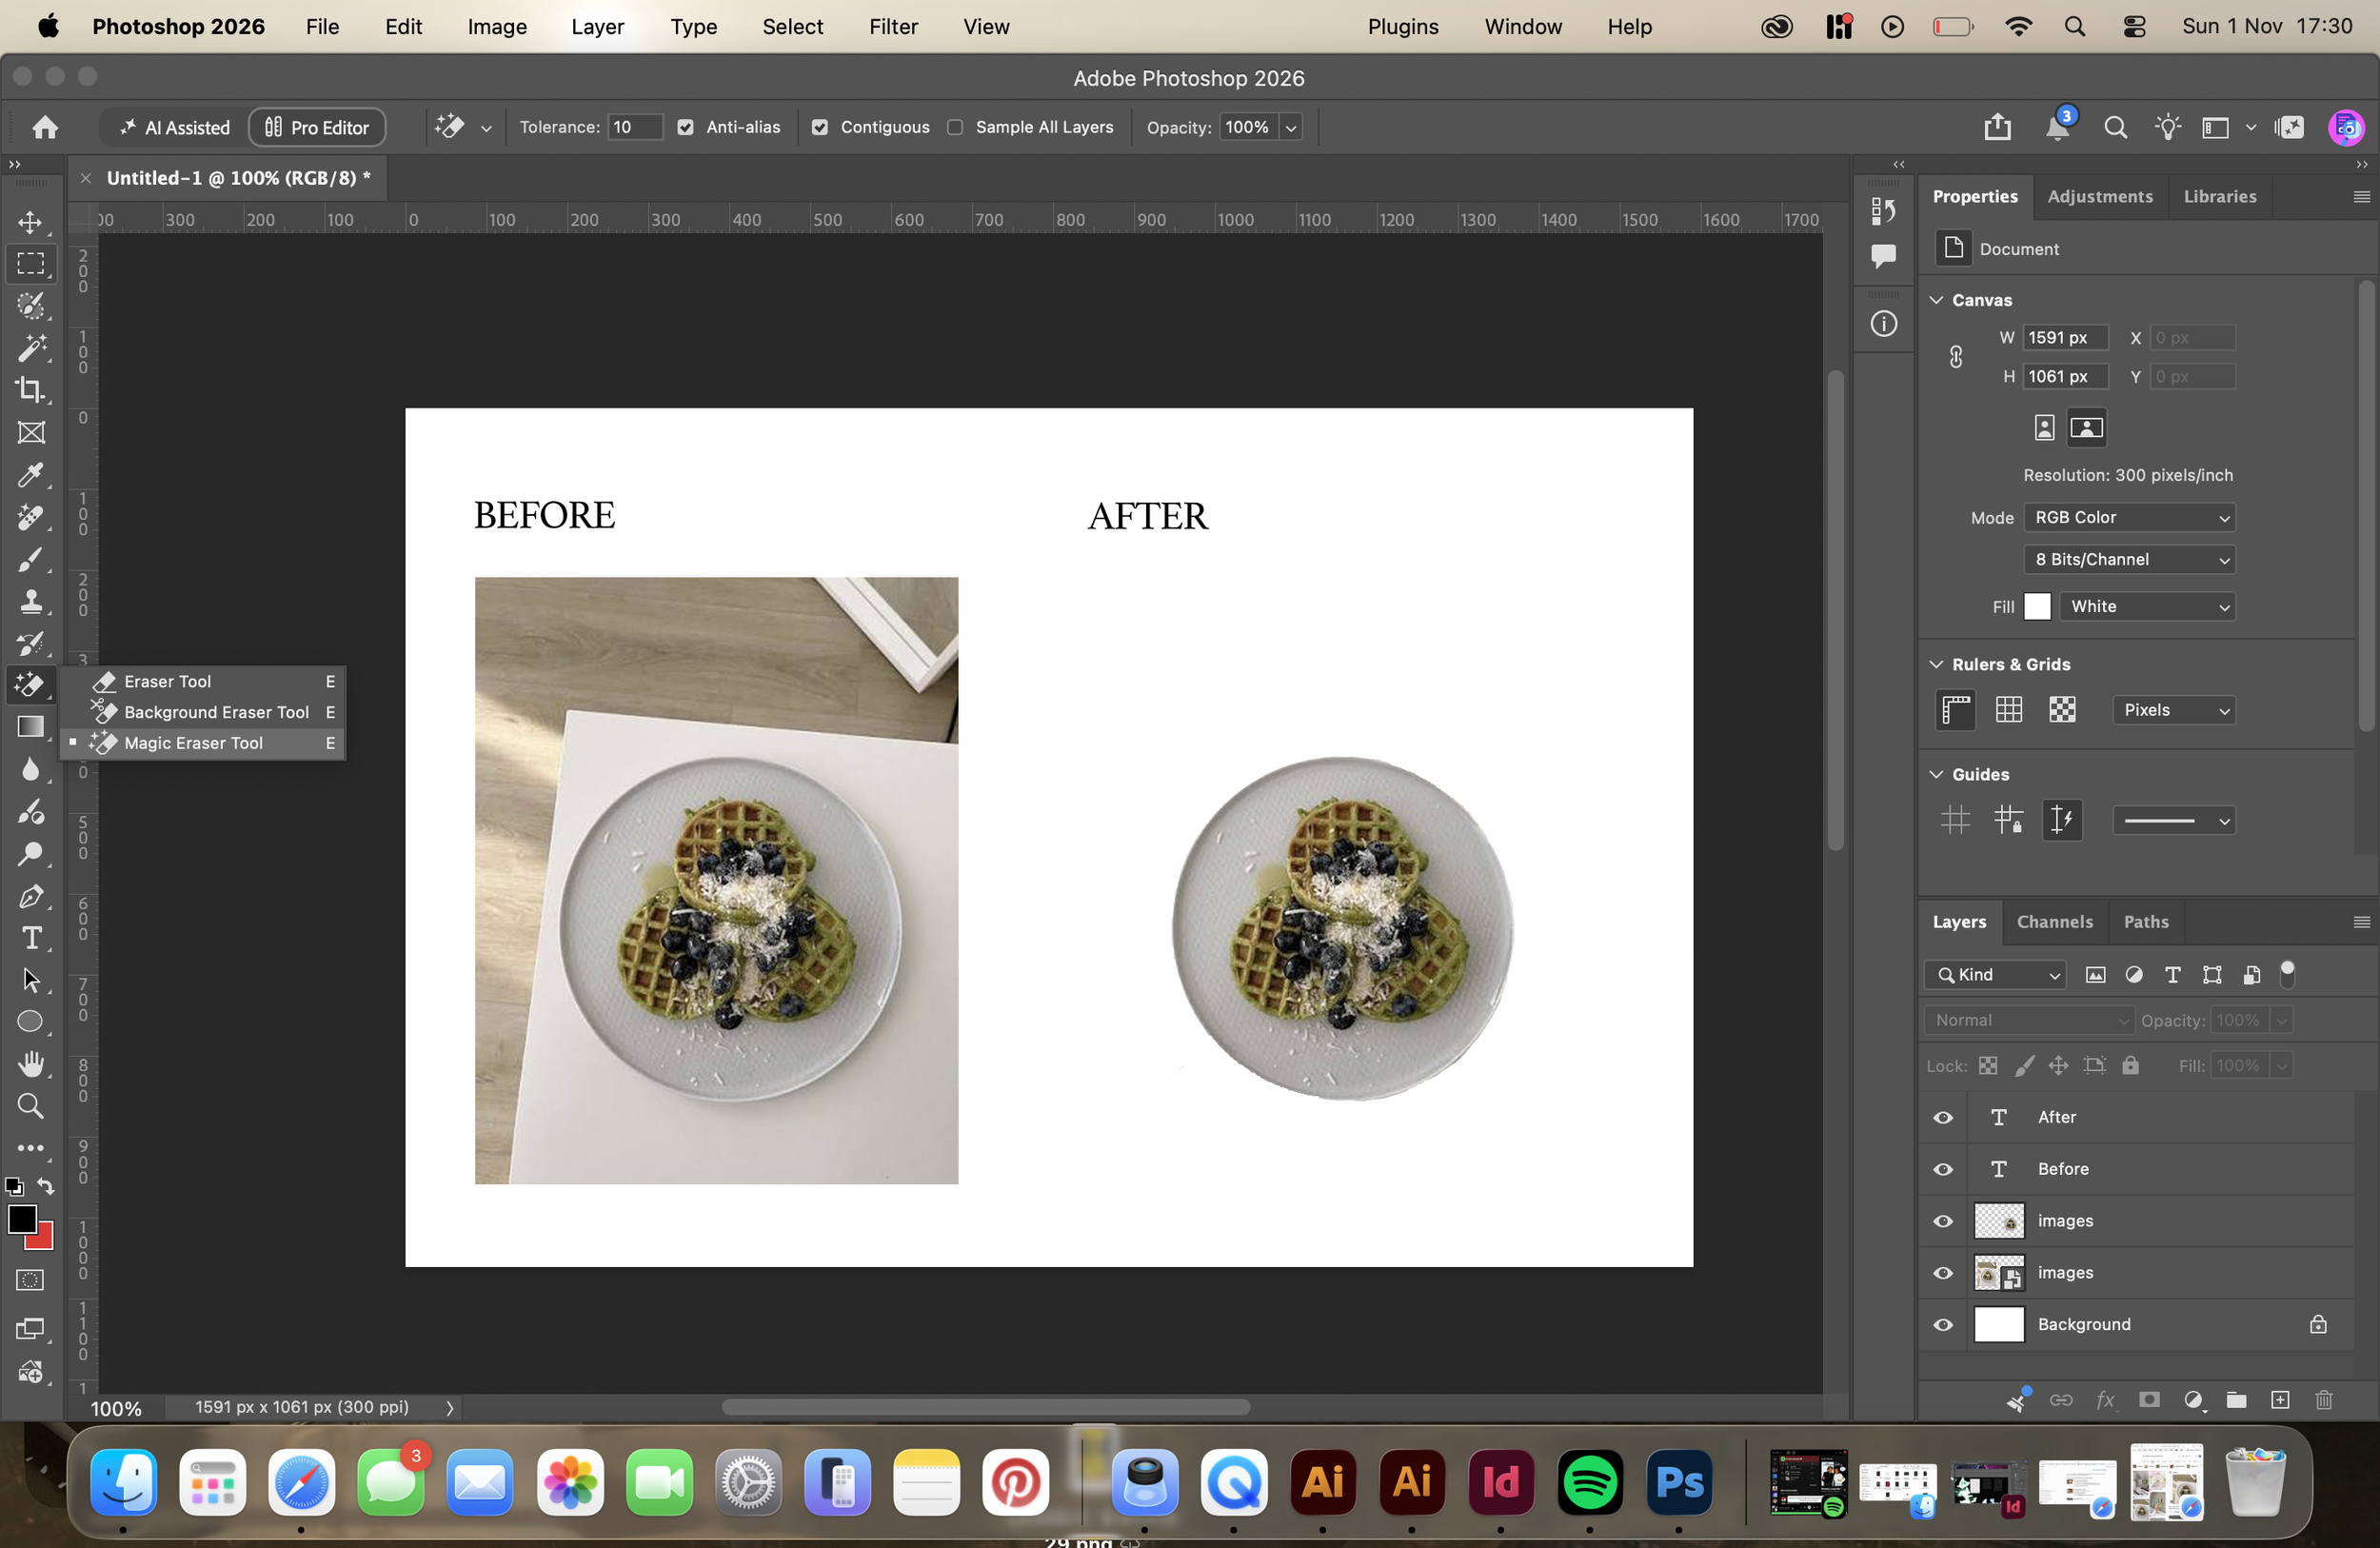
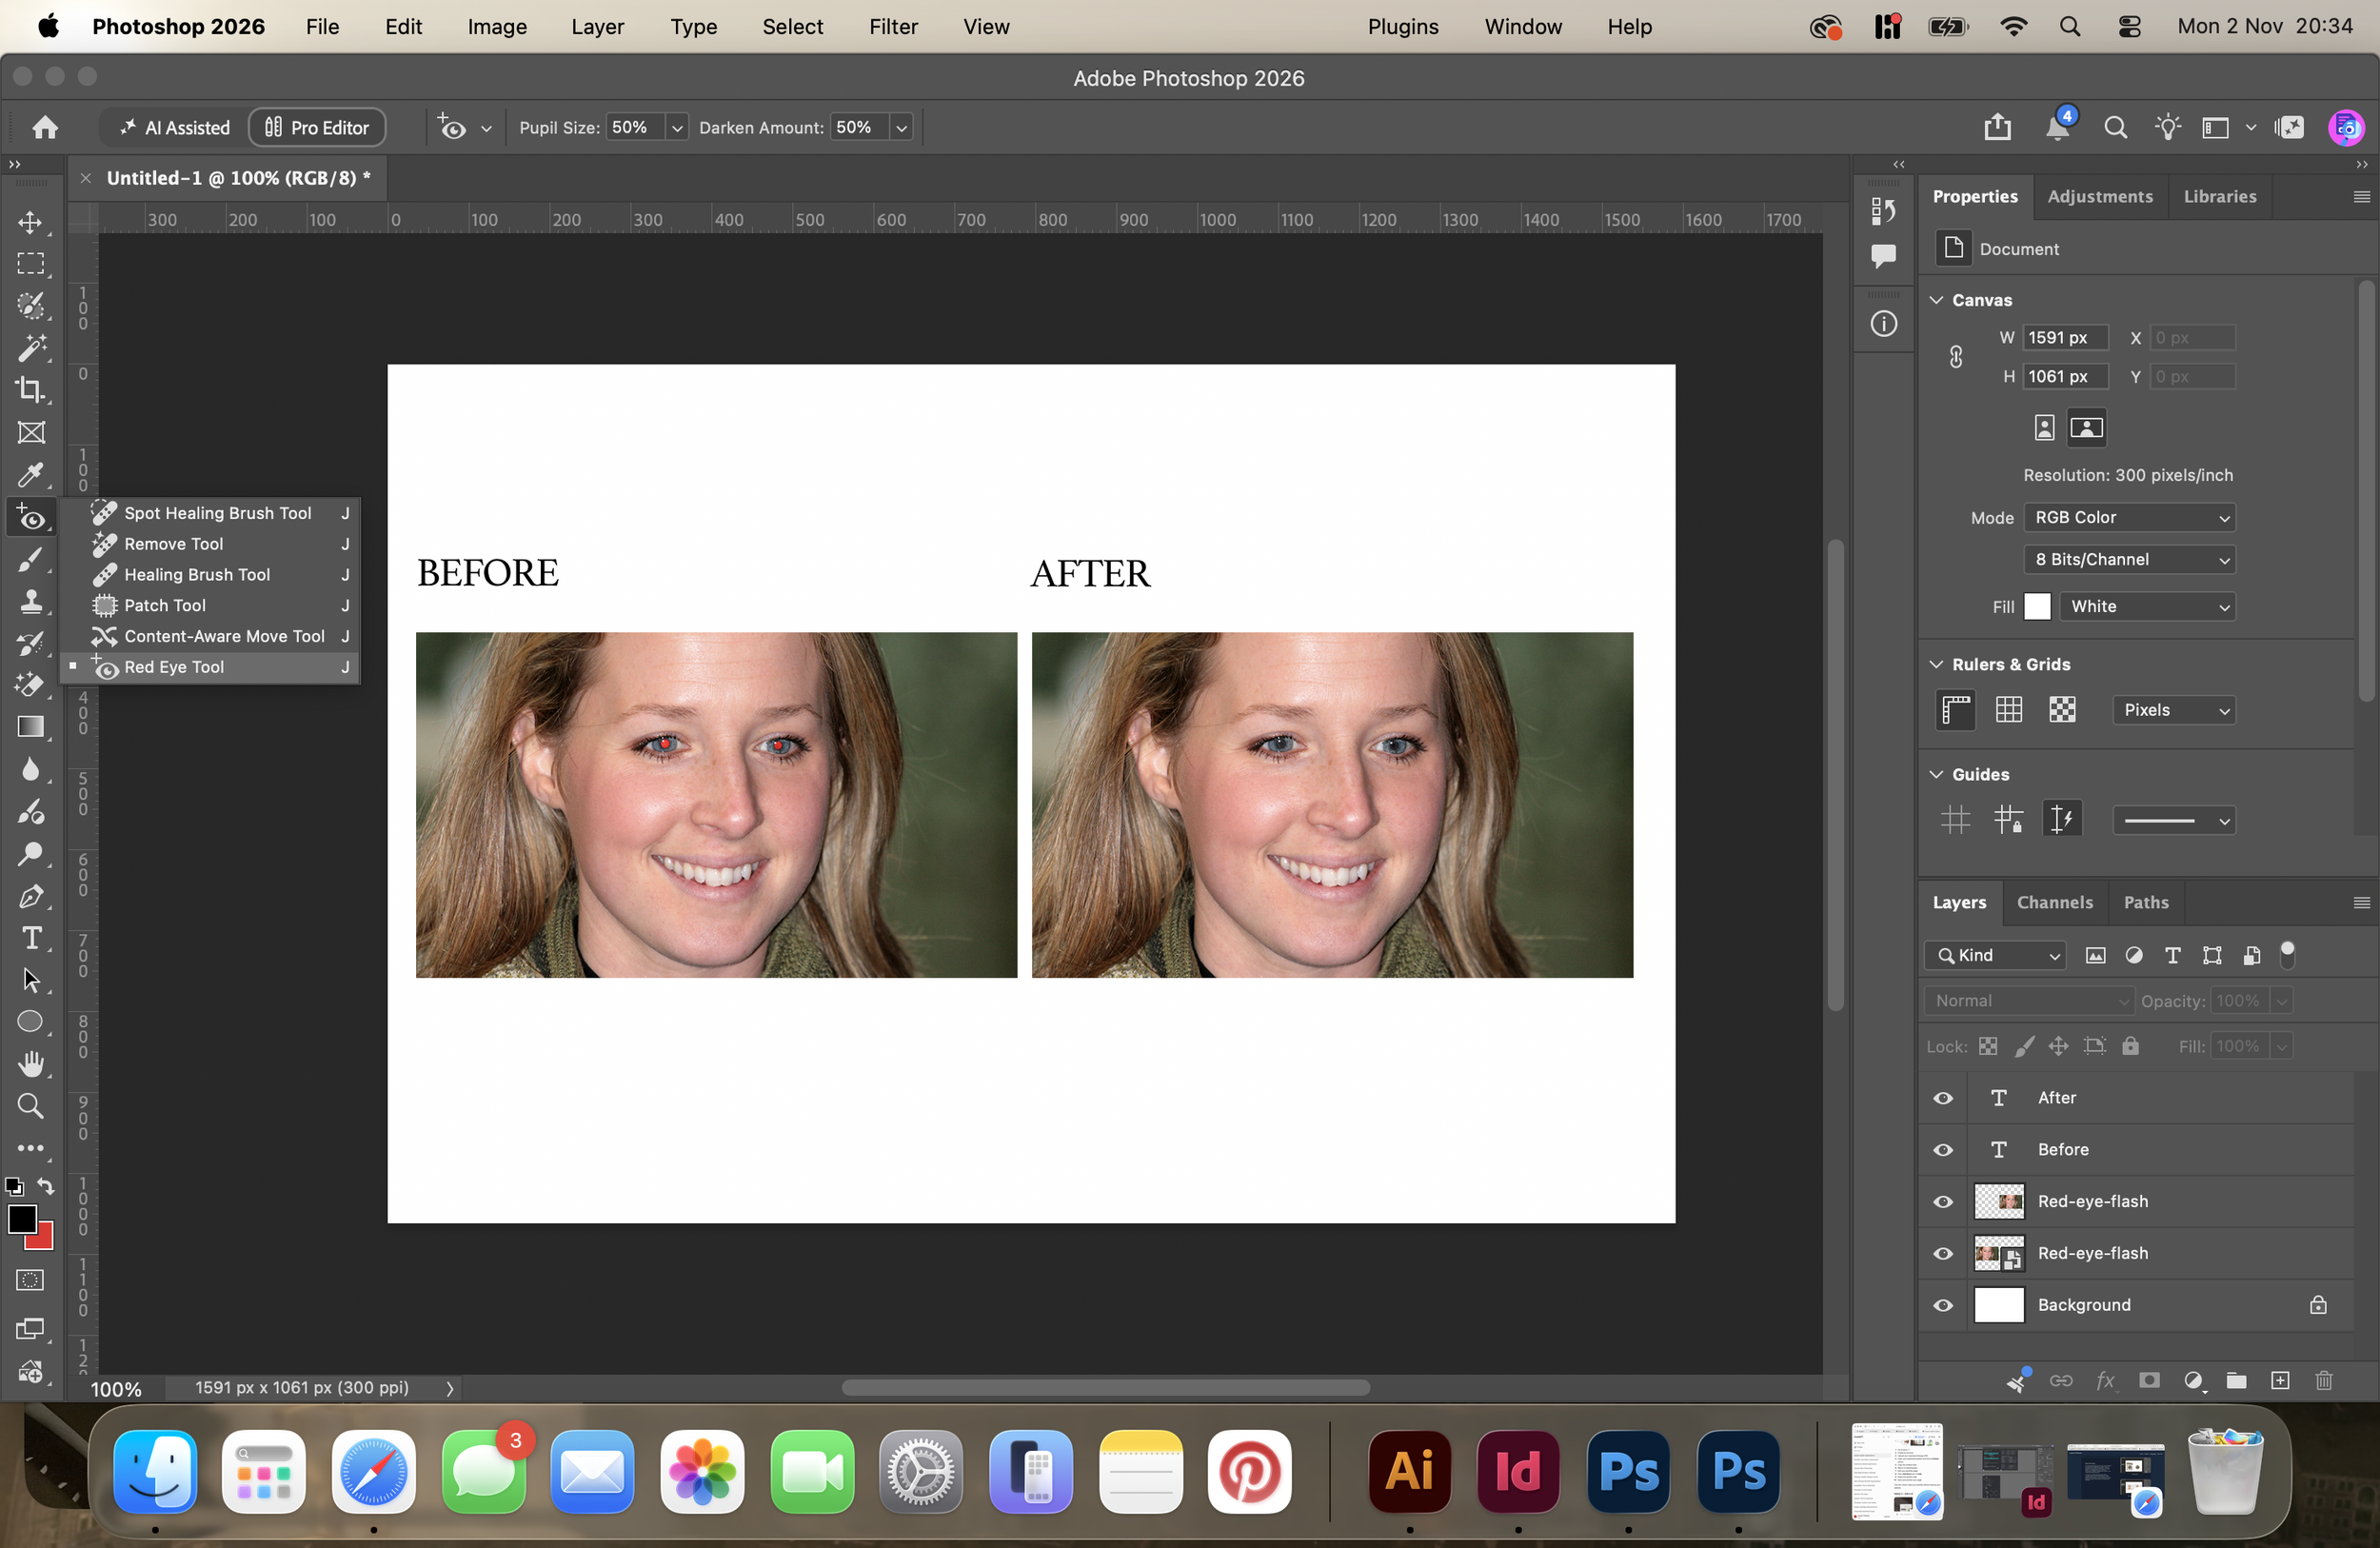
The following process shows how I edit, improve, and prepare photographs for digital and print purposes using Adobe Photoshop. In order to enhance the overall look and calibre of visual assets, I investigated picture correction, retouching, cropping, background removal, and modifying image elements.
In order to visualise branding and design concepts across several applications, I also created realistic mock-ups using Photoshop. I improved my abilities to alter images and create polished, expert visual results by using these methods.
Retouching
Background Removal
Red Eye Removal